Appendix F: Create Intune Package for the Nuix Adaptive Security Agent Installer
Pre-Requisites
You will need the following to create an Intune package for the Nuix Adaptive Security Agent installer.
Download the Microsoft Win32 Content Prep Tool, see https://go.microsoft.com/fwlink/?linkid=2065730.
Use Windows 10 version 1607 or later (Enterprise, Pro, and Education versions).
Create Win32 Intune Package
To create the Win32 Intune package:
Open an elevated command prompt. Open a command prompt as admin and browse to the folder IntuneWinAppUtil.exe.
Run the following command line:
IntuneWinAppUtil.exe -c <source folder> -s <source setup file> -o <output folder>
<source folder> is the location of the Nuix Adaptive Security Agent Installer executable.
<source setup file> is the name of the Nuix Adaptive Security Agent Installer executable file name.
<output folder> is the location to save the Intune package.
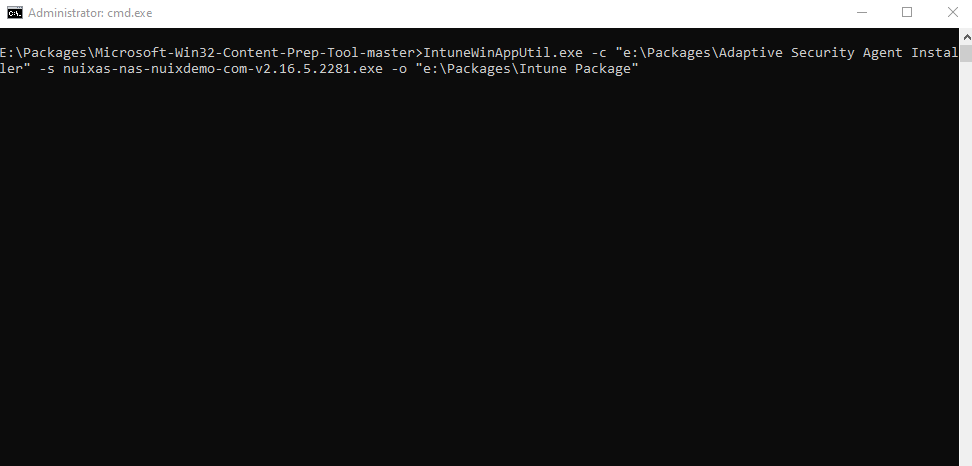
The example in the screenshot above shows the following for Nuix Adaptive Security Agent Installer: IntuneWinAppUtil.exe -c "e:\Packages\Adaptive Security Agent Installer" -s nuixas-nas-nuixdemo-com-v2.16.5.2281.exe -o "e:\Packages\Intune Package"
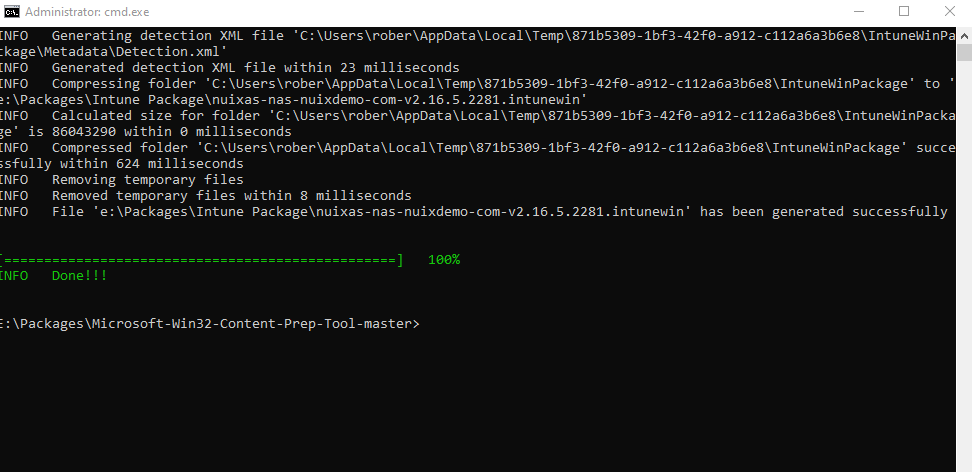
The Intune package is created.
Import the Intune Package to Intune
To import the Intune Package to Intune:
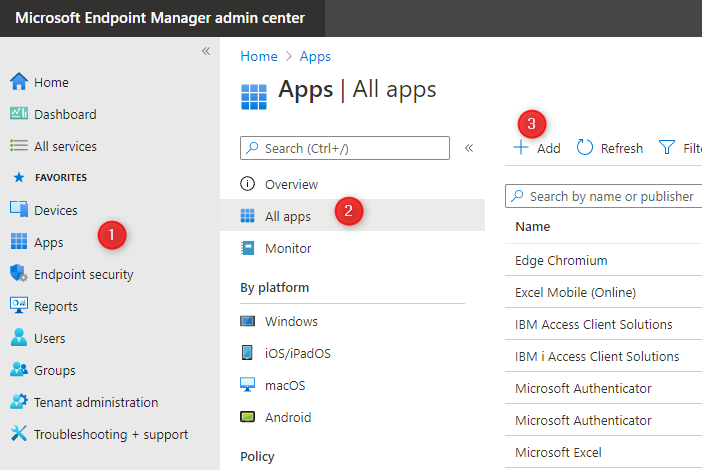
Go to the Intune Admin Portal.
Browse to Apps > All apps and click Add.
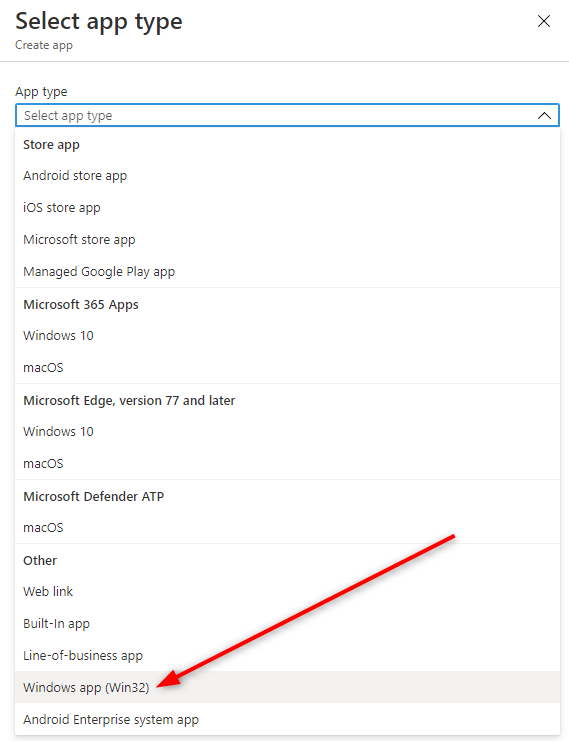
Select Windows app(Win32) from the App type dropdown list.
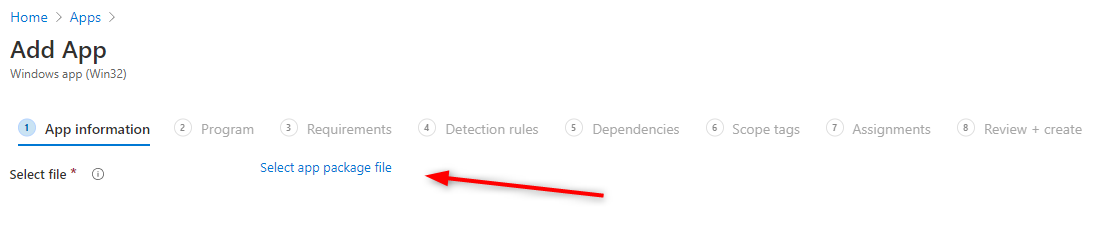
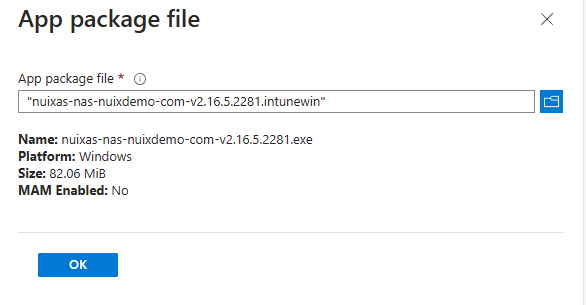
On the App Information tab, click Select App package file, select the previously created .intunewin file, and click Ok.
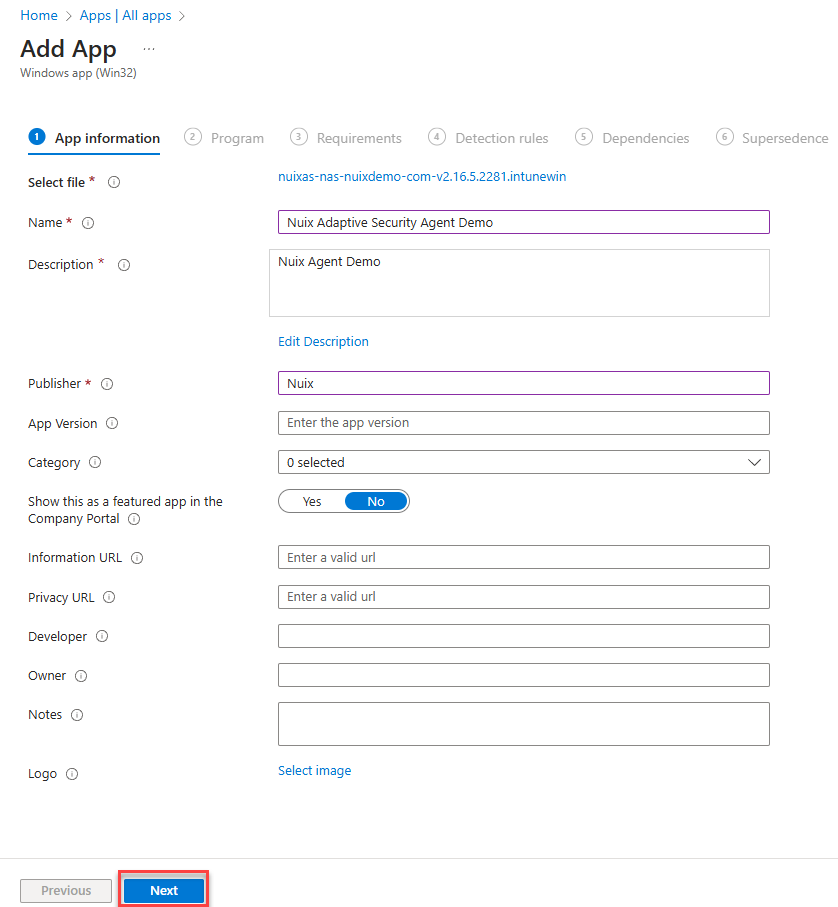
Complete the required App Information. Click Next.
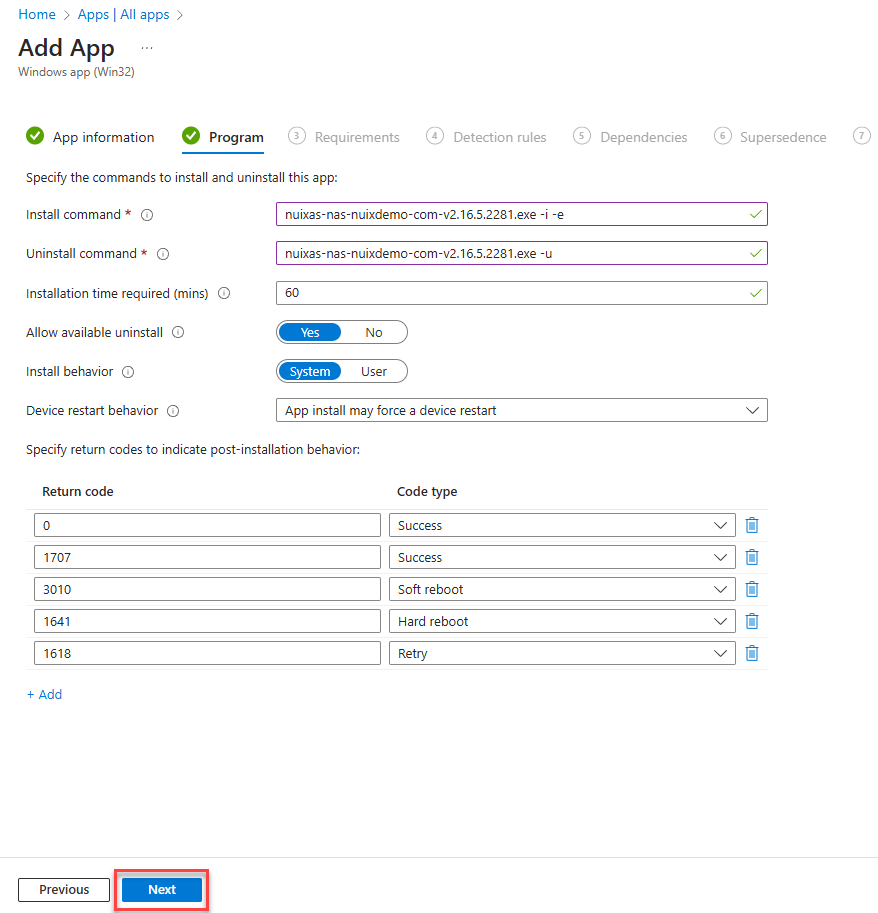
On the Program tab, enter the install command nuixas-nas-nuixdemo-com-v2.16.5.2281.exe -i -e and uninstall command nuixas-nas-nuixdemo-com-v2.16.5.2281.exe -u. Click Next.
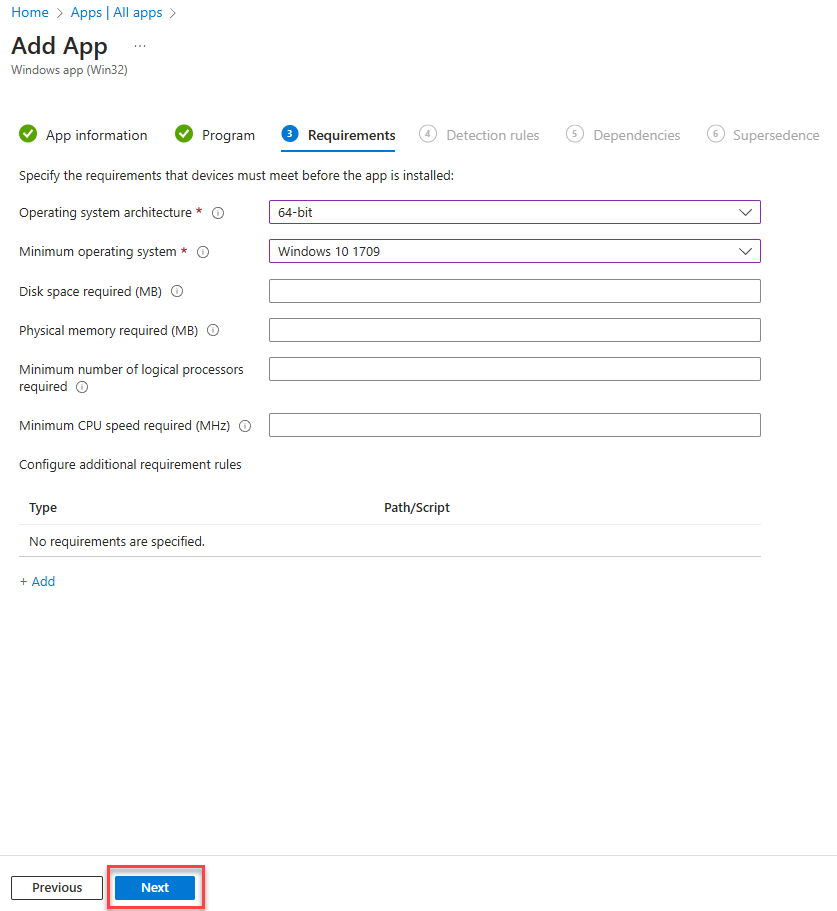
On the Requirements tab, add the required Operating system architecture and the Minimum operating system. Click Next.
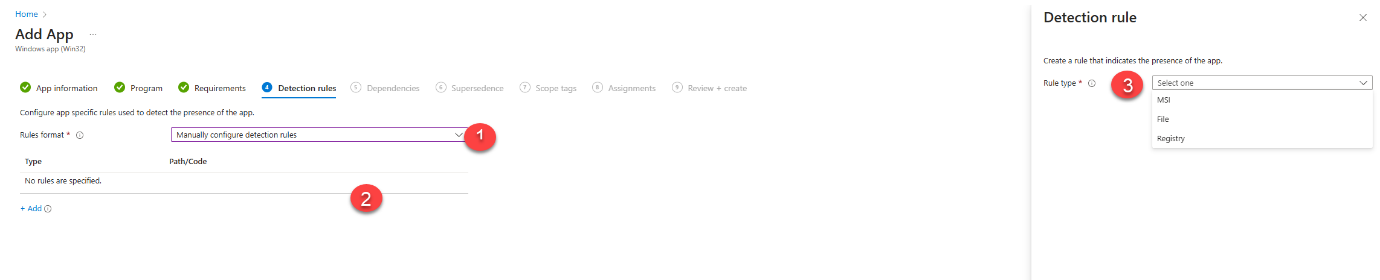
On the Detection Rules tab, select Manually configure detection rule in the Rules format drop-down, and click Add. Select File from the Rule type drop-down.
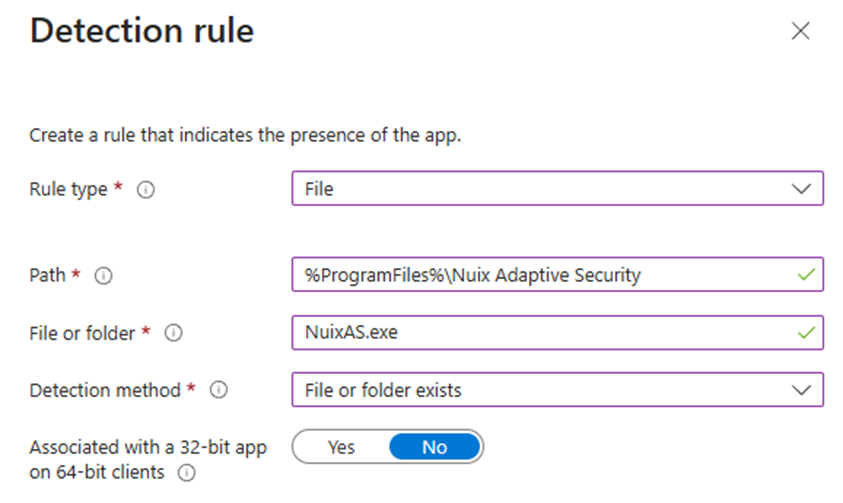
Enter the detection rules.
Path: %ProgramFiles%\Nuix Adaptive Security
File or Folder: NuixAS.exe.
Click Ok.
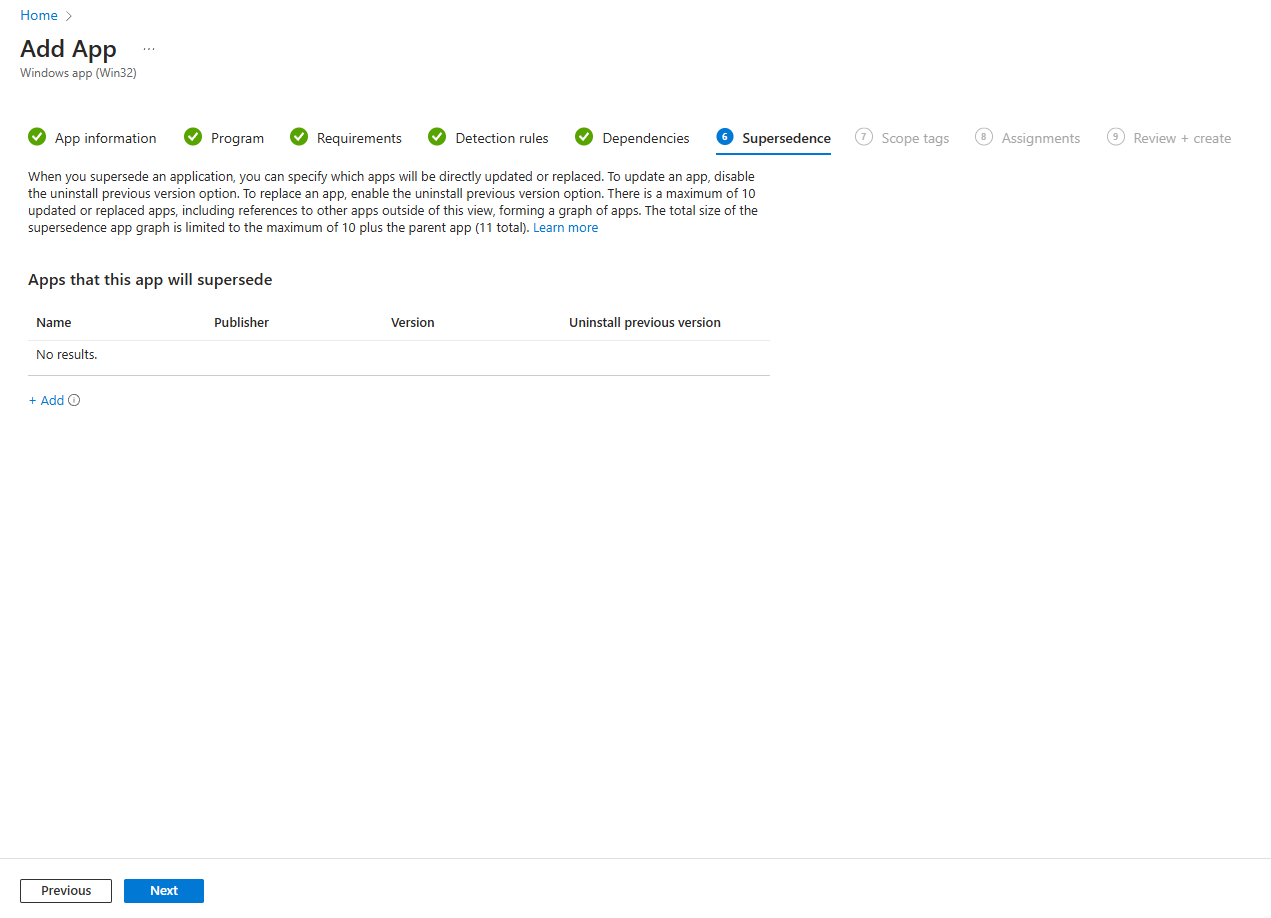
On the Dependencies tab and Superdence tab, click Next.
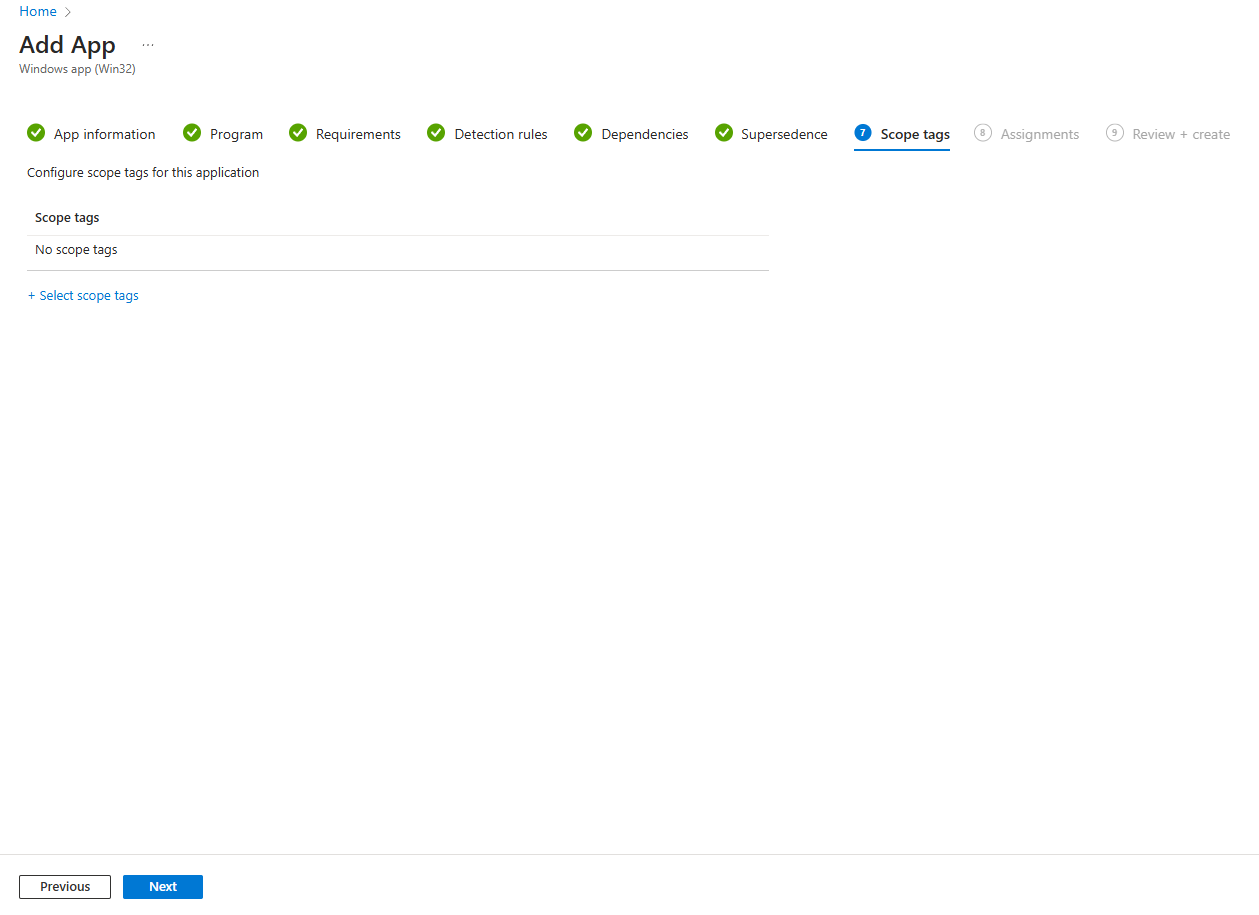
On the Scope tags tab, modify the Scope tags if needed. Click Next.
On the Assignment tab, select the group of users or computers to deploy the Win32 App.
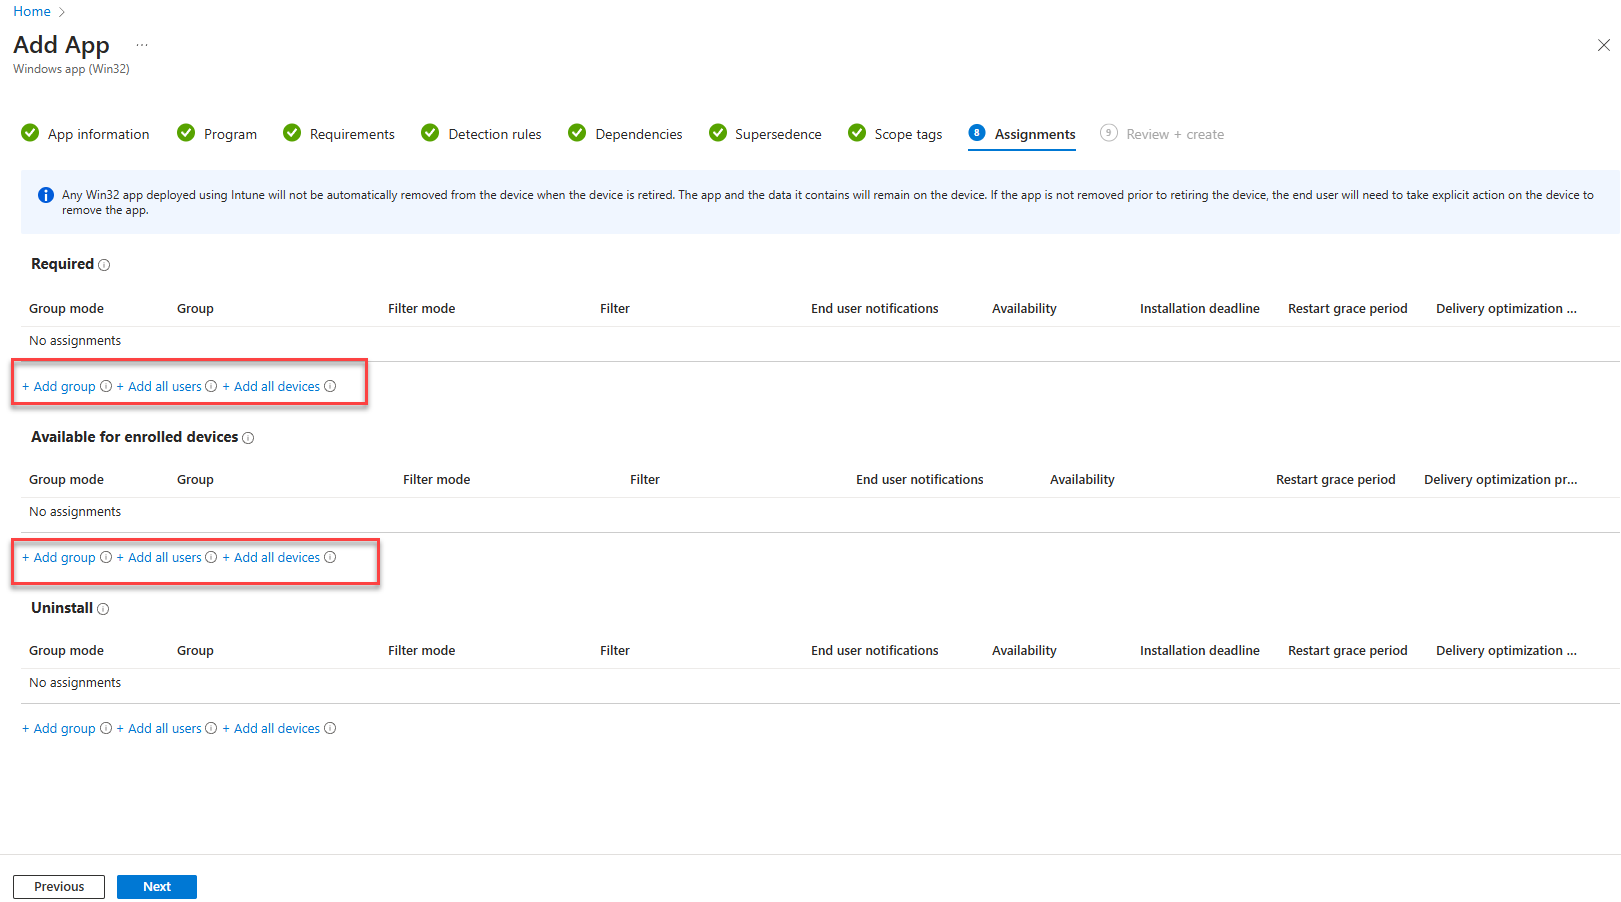
Ensure the notifications are hidden.

On the Review + create tab, review the application settings, and click Create.
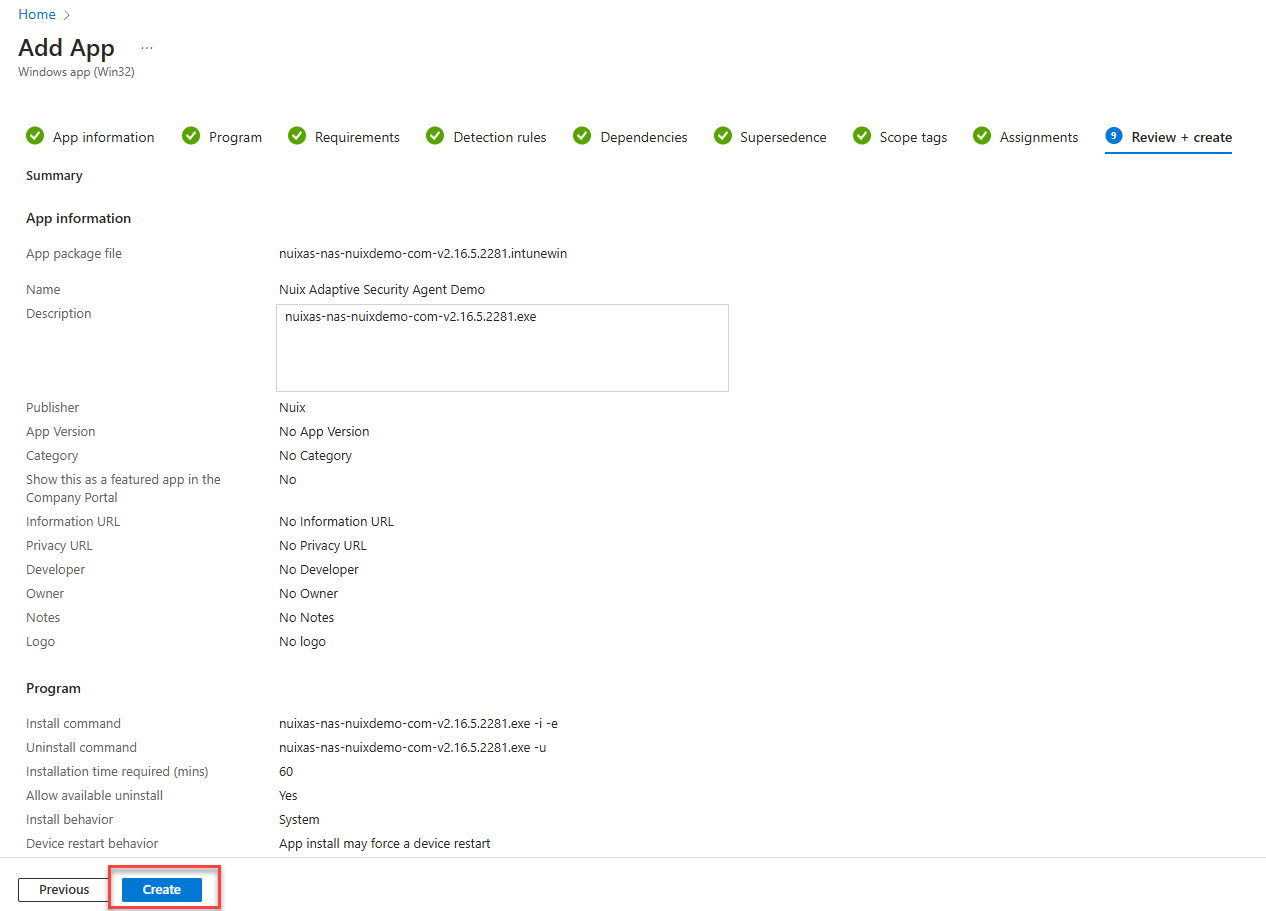
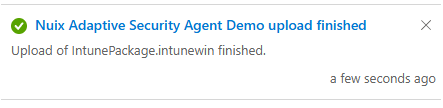
The package will upload into Intune.

A notification will display once the application is created.