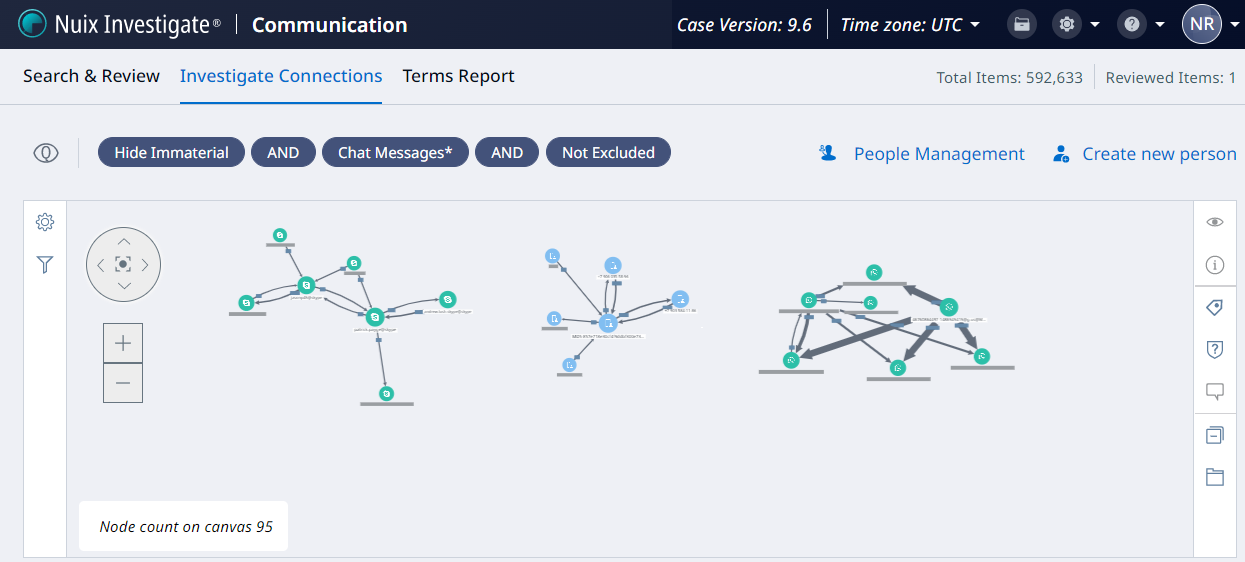
Navigate the canvas
The query used to populate the canvas is represented as pills above the canvas window. See Staging a Query for more information on queries.
Numbers on a relationship line indicate the attachments and messages between the two nodes. Depending on the Canvas Settings, relationship lines and nodes appear larger to show emphasis based on specific criteria.
The node count and any filtered hidden nodes or relationships are shown at the bottom of the canvas.
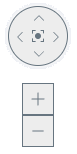
Maneuver within the canvas using the directional arrows on the window:
Use up, down, left, and right arrows to pan the screen in that direction.
Click center to re-center the canvas and go to a zoom level to fit all nodes.
Zoom in and out using the plus + and minus – keys or:
Zoom in using ALT + [+]
Zoom out using ALT + [–]
Zoom to fit using ALT + [0]
The cursor type is defaulted to Navigation mode  allowing you to click and drag items on the canvas.
Press and hold the Alt key to toggle to the Selection mode  allowing you to choose individual items by creating a selection box, which selects all items within it.
The populated canvas consists of Nodes including Person aliases, Relationships, and Attachments.
Nodes
A node on the canvas represents an account that has communication data associated with it that matches the search criteria. Node types include the following:
Communication
Instant Message
Kik
Person
Skype
Slack
SMS
Snapchat
Telegram
Telephone
Tinder
Viber
Use Alt to move your cursor to bulk select or use Ctrl + click to select individual nodes.
Hover over a node to open a new window to view account information including:
Account Name
Account Type
Display Name
Select a node and drag it to a new location, if desired.
Note: On Chrome, use Shift + click or Ctrl + click to select multiple nodes. Once multiple nodes are selected, use Ctrl + click to unselect a node.
On Firefox, use Ctrl + click to select multiple nodes. However, once multiple nodes are selected, you cannot deselect nodes.
Right-click a node to perform the following:
Select Send items to responsive search to view the items associated with the selected nodes. The results are shown in a new browser tab if the Enable New Tab Pivot Searches property is enabled.
Select Create person to associate the selected nodes with a Person.
Tip: If you send data to the Grid and then resend the corresponding items back to the canvas, or vice versa, the results reflect a new query as noted at the top of the view and the results may appear differently from the original.
Note: If any nodes appear on the canvas without relationships, this may be due to the node being a draft email never sent or could be a result of your filtering restrictions.
Relationships
Each relationship line represents all communications between nodes or people and includes:
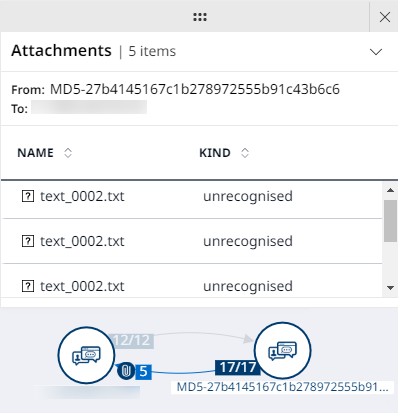
The number of attachments (if any) shared in a communication. This value is based on items in the current result set that share the same attachment, as identified by its MD5 hash value.
The number of communications responsive to the query and total number of communications (including attachments) in the format of 7/8.

In the previous example, these two nodes share 1 attachment and have 8 connections (communications plus attachments) based on the case data but only 7 of the connections are responsive to the effective query.
Note: If a mix of chat conversations and any other type of communications are included in a relationship line, the responsive count is indicated with a double tilde.
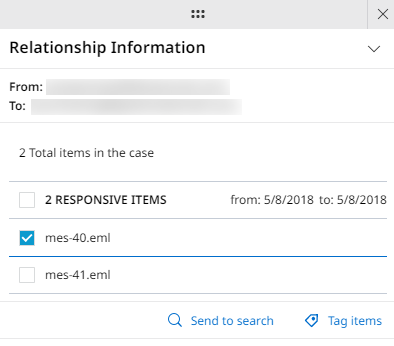
Click on a relationship line or the number of communications to open an overlay window (it may be collapsed, click to expand) to view relationship information including:
The accounts and their directions (From or To).
The total volume of items in the case (including attachments).
Select the Search icon to send all items in the case to a new browser tab or select the Tag icon to tag all items in the case.
The number of communications responsive to the original search.
The date range of the responsive communications.
A list of responsive communications.
Select a single responsive communication to open it in a Default Preview window. The type of responsive item determines which preview window is opened.
Select responsive items and click Send to search to send responsive items in that account to the Search & Review workspace.
Select responsive items and click Tag items to tag the responsive items in that account or tag all items in the case.
If a responsive item in a relationship has no name, it renders as a blank row in the relationship overlay.
If the overlay is already open in the Attachments mode, you must click on the communication numbers to open the overlay in Relationship mode.
Note: When selecting a relationship, ensure that no nodes are also selected.
Attachments
The number of attachments that two nodes have in common as determined by the MD5 hash of the attachment, is shown on a relationship line.
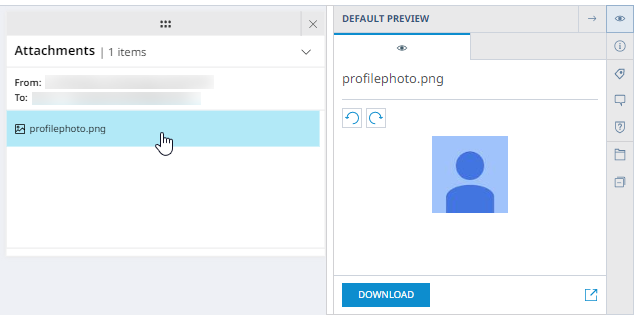
Click on the attachment count to open an overlay window to view attachment details including:
Number of attachments.
The accounts and their directions (From or To).
A list of attachments related to the relationship and what kind of attachment they are.
Click on Name to sort by the name of the attachment or click on Kind to sort by the type of attachment.
Hover over an attachment in the list to see the other attachment labels on the canvas with that attachment.
Click on an attachment in the list to open the Default Preview pane. After viewing an attachment, it is no longer bold to indicate it has been viewed.
Note: If the selected attachment is for a Person, all duplicate attachments are shown.
Chat messages
Chat messages between two or more participants are shown in a preview window. Each participant is listed at the top, with sections below for each segment of the conversation.
For more information, see Chat Preview.